Paperless Desktop
Your documents from Paperless-ngx, right in the macOS Finder.
Paperless in the Finder sidebar
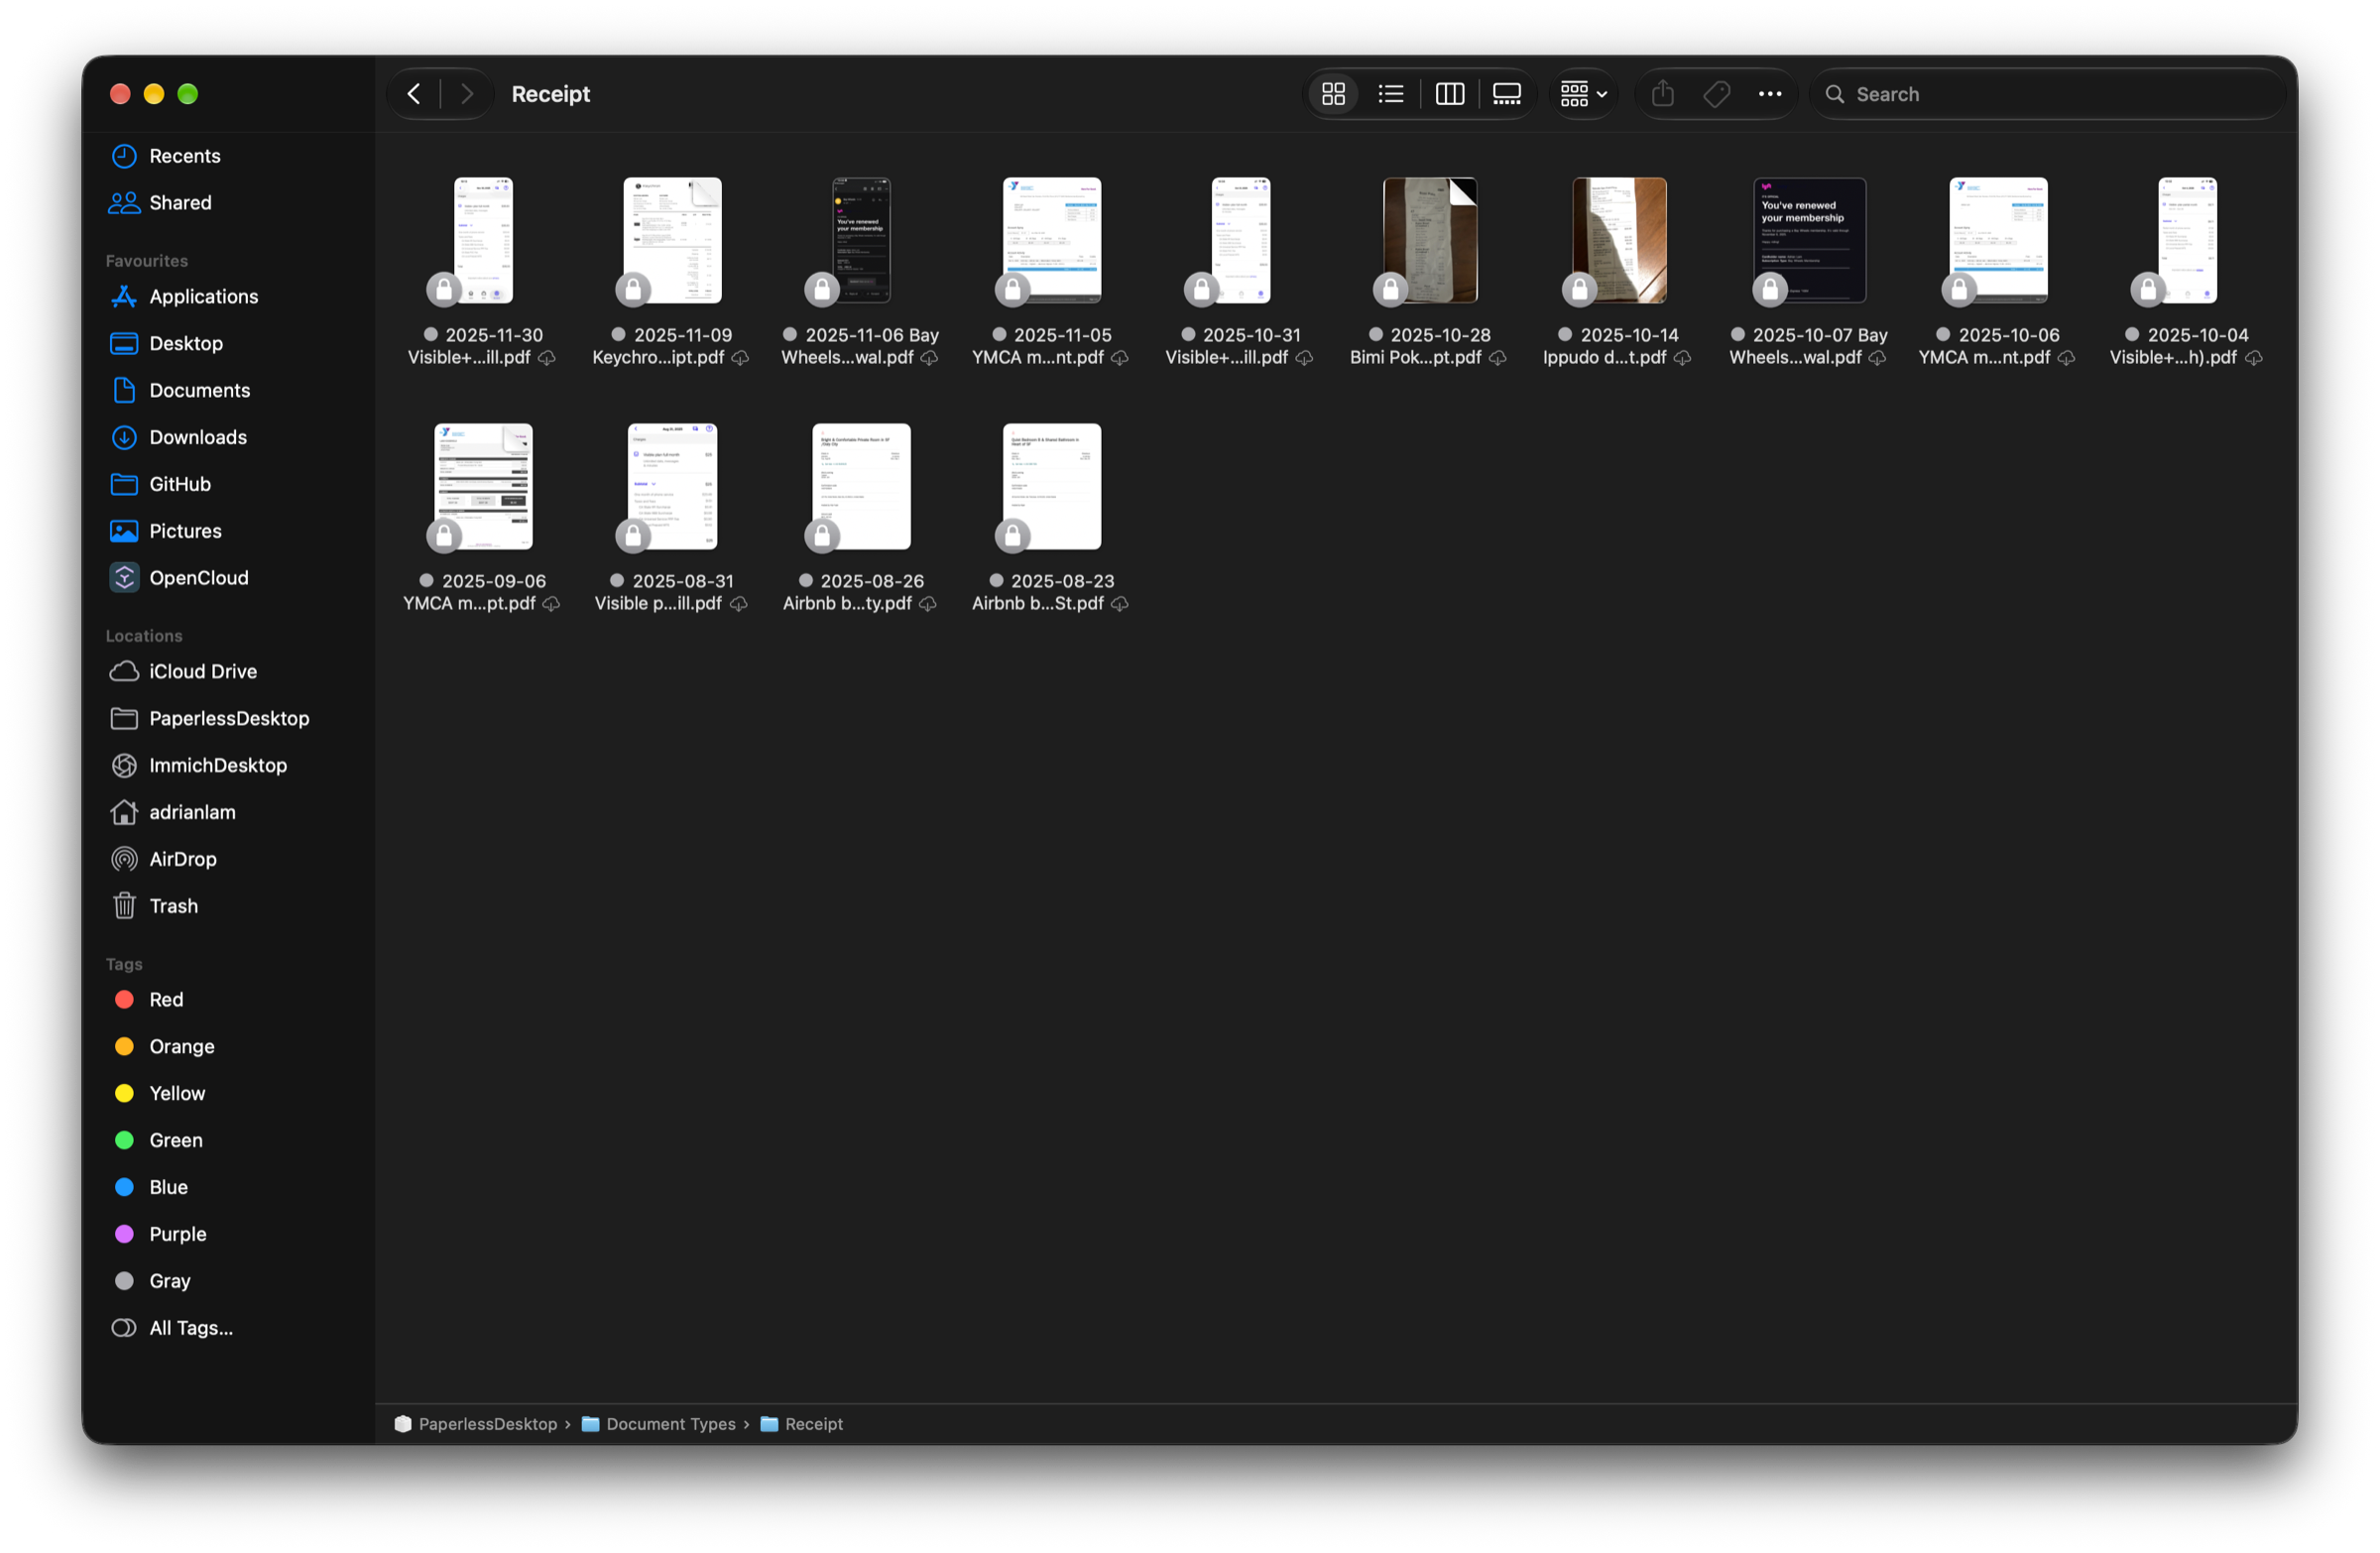
Paperless Desktop adds your server as a location in Finder's sidebar, with folders for All Documents, Correspondents, Tags, Document Types and Years. Documents show Paperless's own thumbnails, and download only when you open them.
Drop a file into any folder to upload it. Dropping it into a tag, correspondent or document type folder sets that on the new document.
Lives in the menu bar
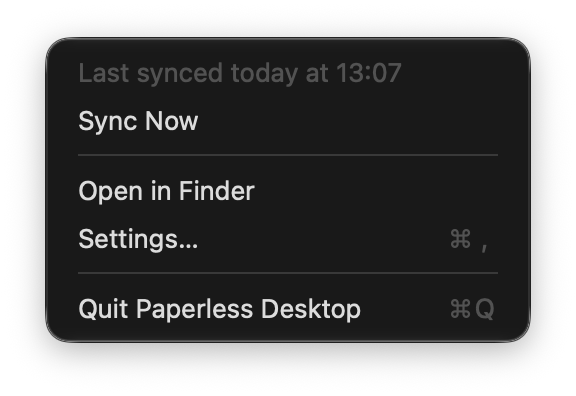
A leaf in the menu bar shows when your library last synced, with Sync Now, Open in Finder and Settings. It gets a ! when a sync fails.
Paperless is checked for changes every 5 minutes, or as often as you choose.
Connect to your Paperless server
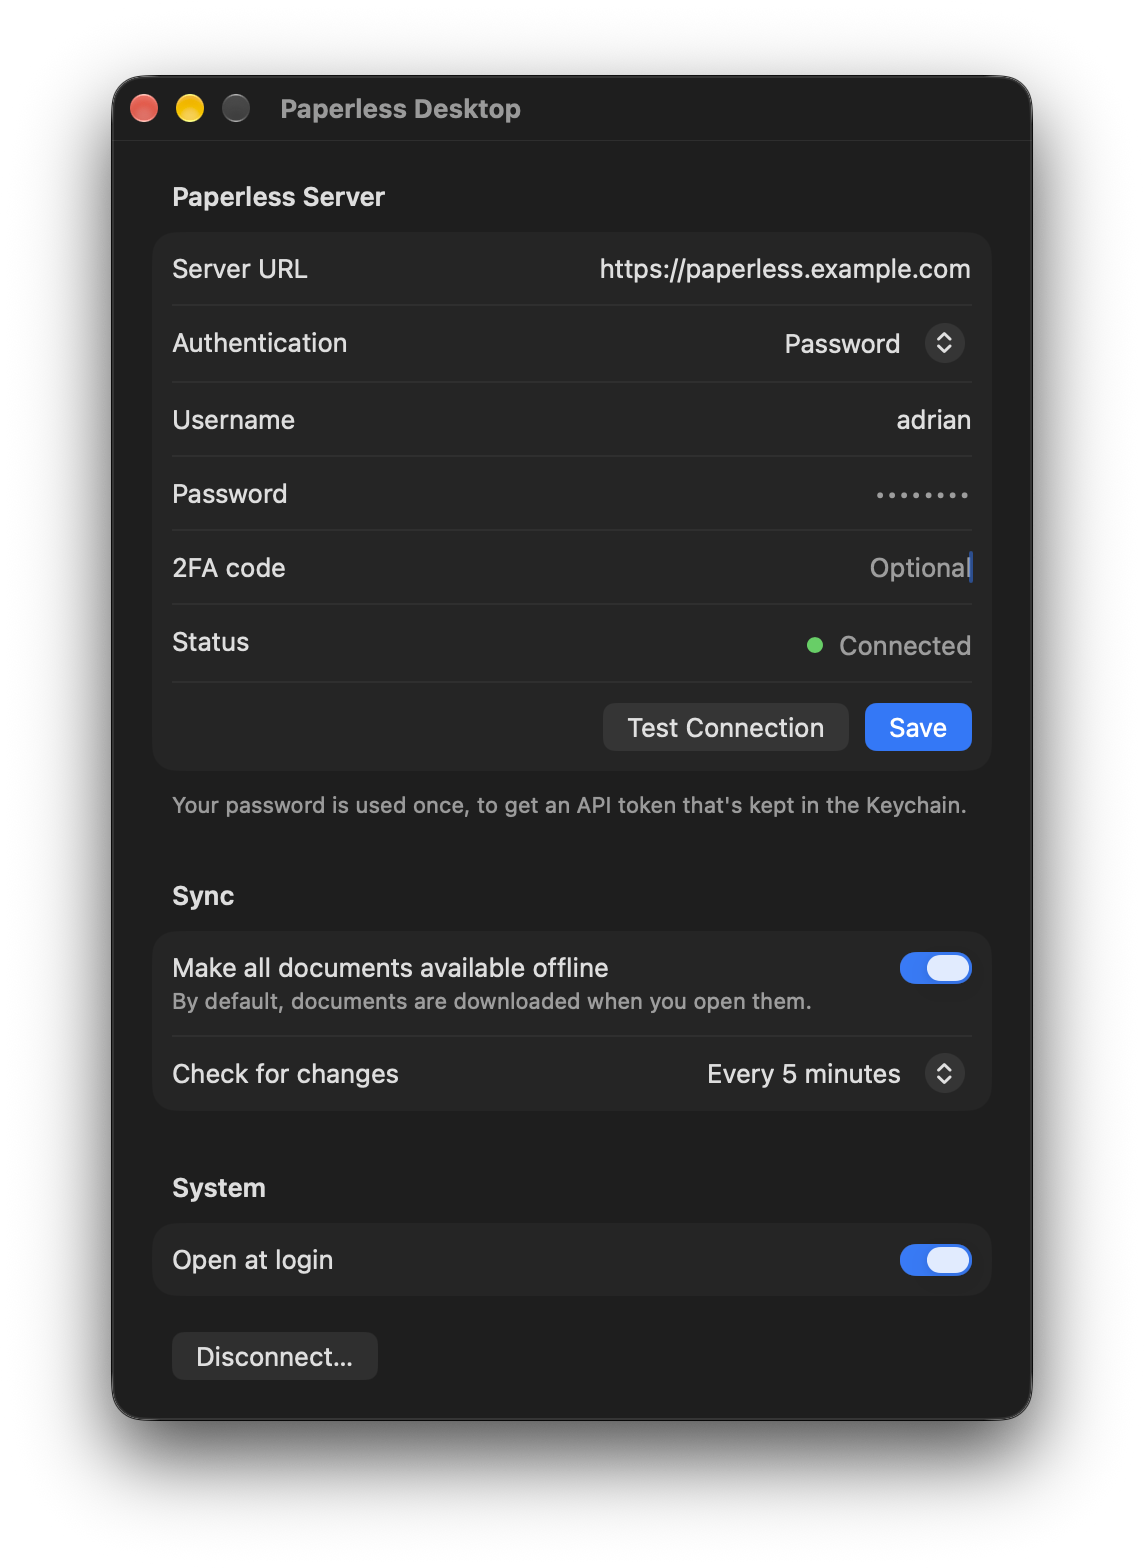
Enter your server URL and sign in with your username and password, or an API token. The password is used once, to get a token that's kept in the Keychain.
Turn on Make all documents available offline to keep the whole library on your Mac.
Why Paperless Desktop
Native Finder integration
Built on Apple's File Provider system, so documents behave like real files in Finder, Quick Look and open dialogs.
Move to Trash
Trash a document in All Documents and it goes to Paperless's trash, shown in Finder's Trash. Put Back restores it.
Talks only to your server
No accounts and no third-party servers. The app connects straight to your Paperless-ngx server.
Free and open source
MIT licensed. Build it from source with Xcode in about two minutes.
Frequently asked questions
Is this an official Paperless-ngx app?+
No. It's an independent app that talks to your server's API, the same one the Paperless web app uses.
What do I need?+
A Mac on macOS 15 or later, and a Paperless-ngx server on version 3.0 or later.
Can it change or delete my documents?+
It uploads the files you drop in. Move to Trash in All Documents sends a document to Paperless's trash, which shows up in Finder's Trash: Put Back restores it, and emptying the Trash deletes it for good. Nothing else changes in Paperless.
How do I install it?+
There's no signed download yet, so you build it from source with Xcode. The steps are in the README.